How to Organize and Import Audiobooks into iTunes
If you are looking for how to sort audiobooks on an iOS device, you will be happy to learn a few ways to do that. You can purchase audiobooks from Apple for adding to your collection. But maybe you have already added a bunch of audiobooks or CDs that you want to add to your iTunes library. It sounds like a simple process. Importing them is quite easy but organizing them may take a little more time. By default, audiobooks are dumped into Music library instead of Audiobooks library. iTunes often fails to apply right album art to your imported audiobooks. It is although possible to correct both the problems.
Importing Audiobooks From CDs
Start iTunes. Your audiobook probably comes on multiple CDs. Insert the first CD into your computer’s CD/DVD tray. A small square window will pop up with multiple CD results. Tap result that best matches name and description of the audiobook and clicks OK.
Importing Audiobooks into iTunes
iTunes will ask if you would like to import CD into the library. Tap yes and iTunes will begin the process of importing.
Eject Audiobook CD
iTunes alerts you after the CD is imported. Tap the eject button in upper right corner and swap first CD with the SEcond CD. Keep repeating the process till all CDs are imported into your library of iTunes.
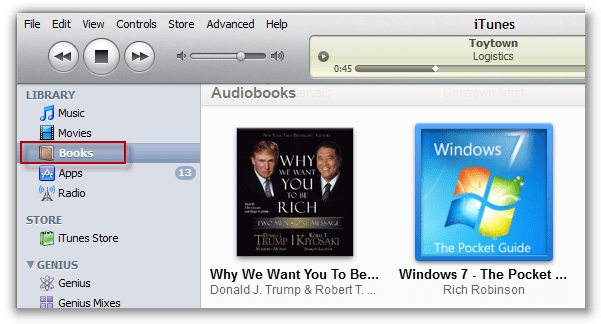
View Imported CD
So now you have imported final CD for the audiobook. The entire book can be viewed in your music library, either by browsing to it or by peeking in Recently Added section.
Edit Album Data
Now the challenge is to fix the problems and organizing the entire book. It is possible that you may not like the titles given to each imported discs. Click right on of the imported discs and choose Album info from the pop-up menu.
In the Album field, change existing name to the one you want to use, remember to add a phrase such as Disc1 at the end of the name. If you want to use a similar name for other discs, choose and copy the entire name. Now Click OK. Click right on Disc2 and choose Album Info. Now paste copied Album to Album field and change Disc1 to Disc2. It is also possible to type a name for album artist and meaning the author if it is missing. When you type some letters, iTunes predicts the name and shows potential matches. Choose the Appropriate match a Click OK. Repeat same steps for remaining audiobook disc in your library.
Edit Title Track Data
Click on each imported disc for viewing titles for each track. It is possible that you may find some tracks with wrong names. Right-click on one of those tracks and click on song information.
Change Title Name
Type the name you want to give the song in the Song field. Tap OK. Repeat those steps for all the tracks you want to change the name of.
Finding Lost Album Art
Once you are done with importing your CD, you may find that it doesn’t have any album art attached to it. iTunes may not be successful in tracking down the correct art. Go to your web browser and conduct image search for the audiobook. Look for the right image and click right on it to save it to your device.
Graccey Leio is a self-professed security specialist; she has been manufacture the people aware of the security threats. Her obsession is to write about Cybersecurity, cryptography, malware, societal engineering, internet and new media. She writes for McAfee security products at mcafee.com/activate


Comments
Post a Comment